Prerequisites
- All high-level prerequisites as listed in the Getting Started section.
Add the Glance Application
The following steps describe how to embed Glance controls within the Customer Service Hub workstream.
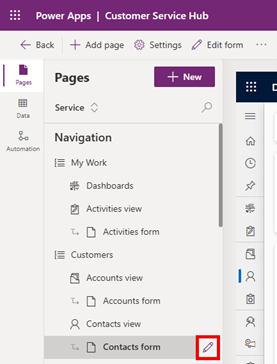
Click the Pages tab.
Select the view and form to add the Glance controls (i.e., Customers -> Contacts view -> Contacts form) then click the pencil icon.
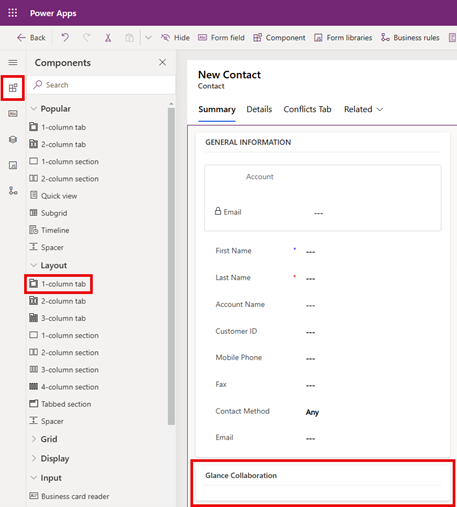
Select the Components tab from the left menu, scroll down to the Layout section and drag 1-column tab to the form on the right.
Rename the section to "Glance Collaboration".
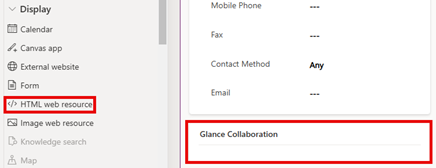
Scroll down to the Display section and drag HTML web resource into the Glance Collaboration section.
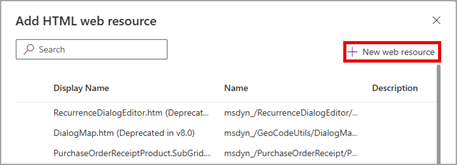
Within Add HTML web resource click + New web resource.
Create an HTML file containing an iframe, replacing "GLANCE URL" with the organization-specific URL provided by Glance. For example:
<!DOCTYPE html>
<html>
<head></head>
<body>
    <iframe src="GLANCE URL" style="border:none; width:100%; height:100%;" title="Glance Agent Workspace"></iframe>
</body>
</html>
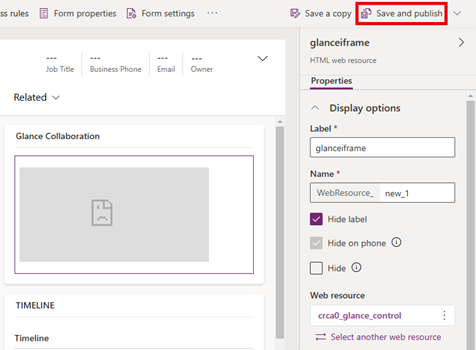
Click Choose file and upload the HTML file created in the previous step. Complete the rest of the form and click Save.

Click Save and publish in the upper right corner. If changes to the iframe are required, utilize the Properties panel on the right.
Joining a Session from Microsoft Dynamics
Navigate to the Dynamics Customer Service Hub.
Select either Contacts or Cases from the left navigation pane.
Click the Summary tab.
Log in with your credentials when prompted to sign in to your Identity Provider.
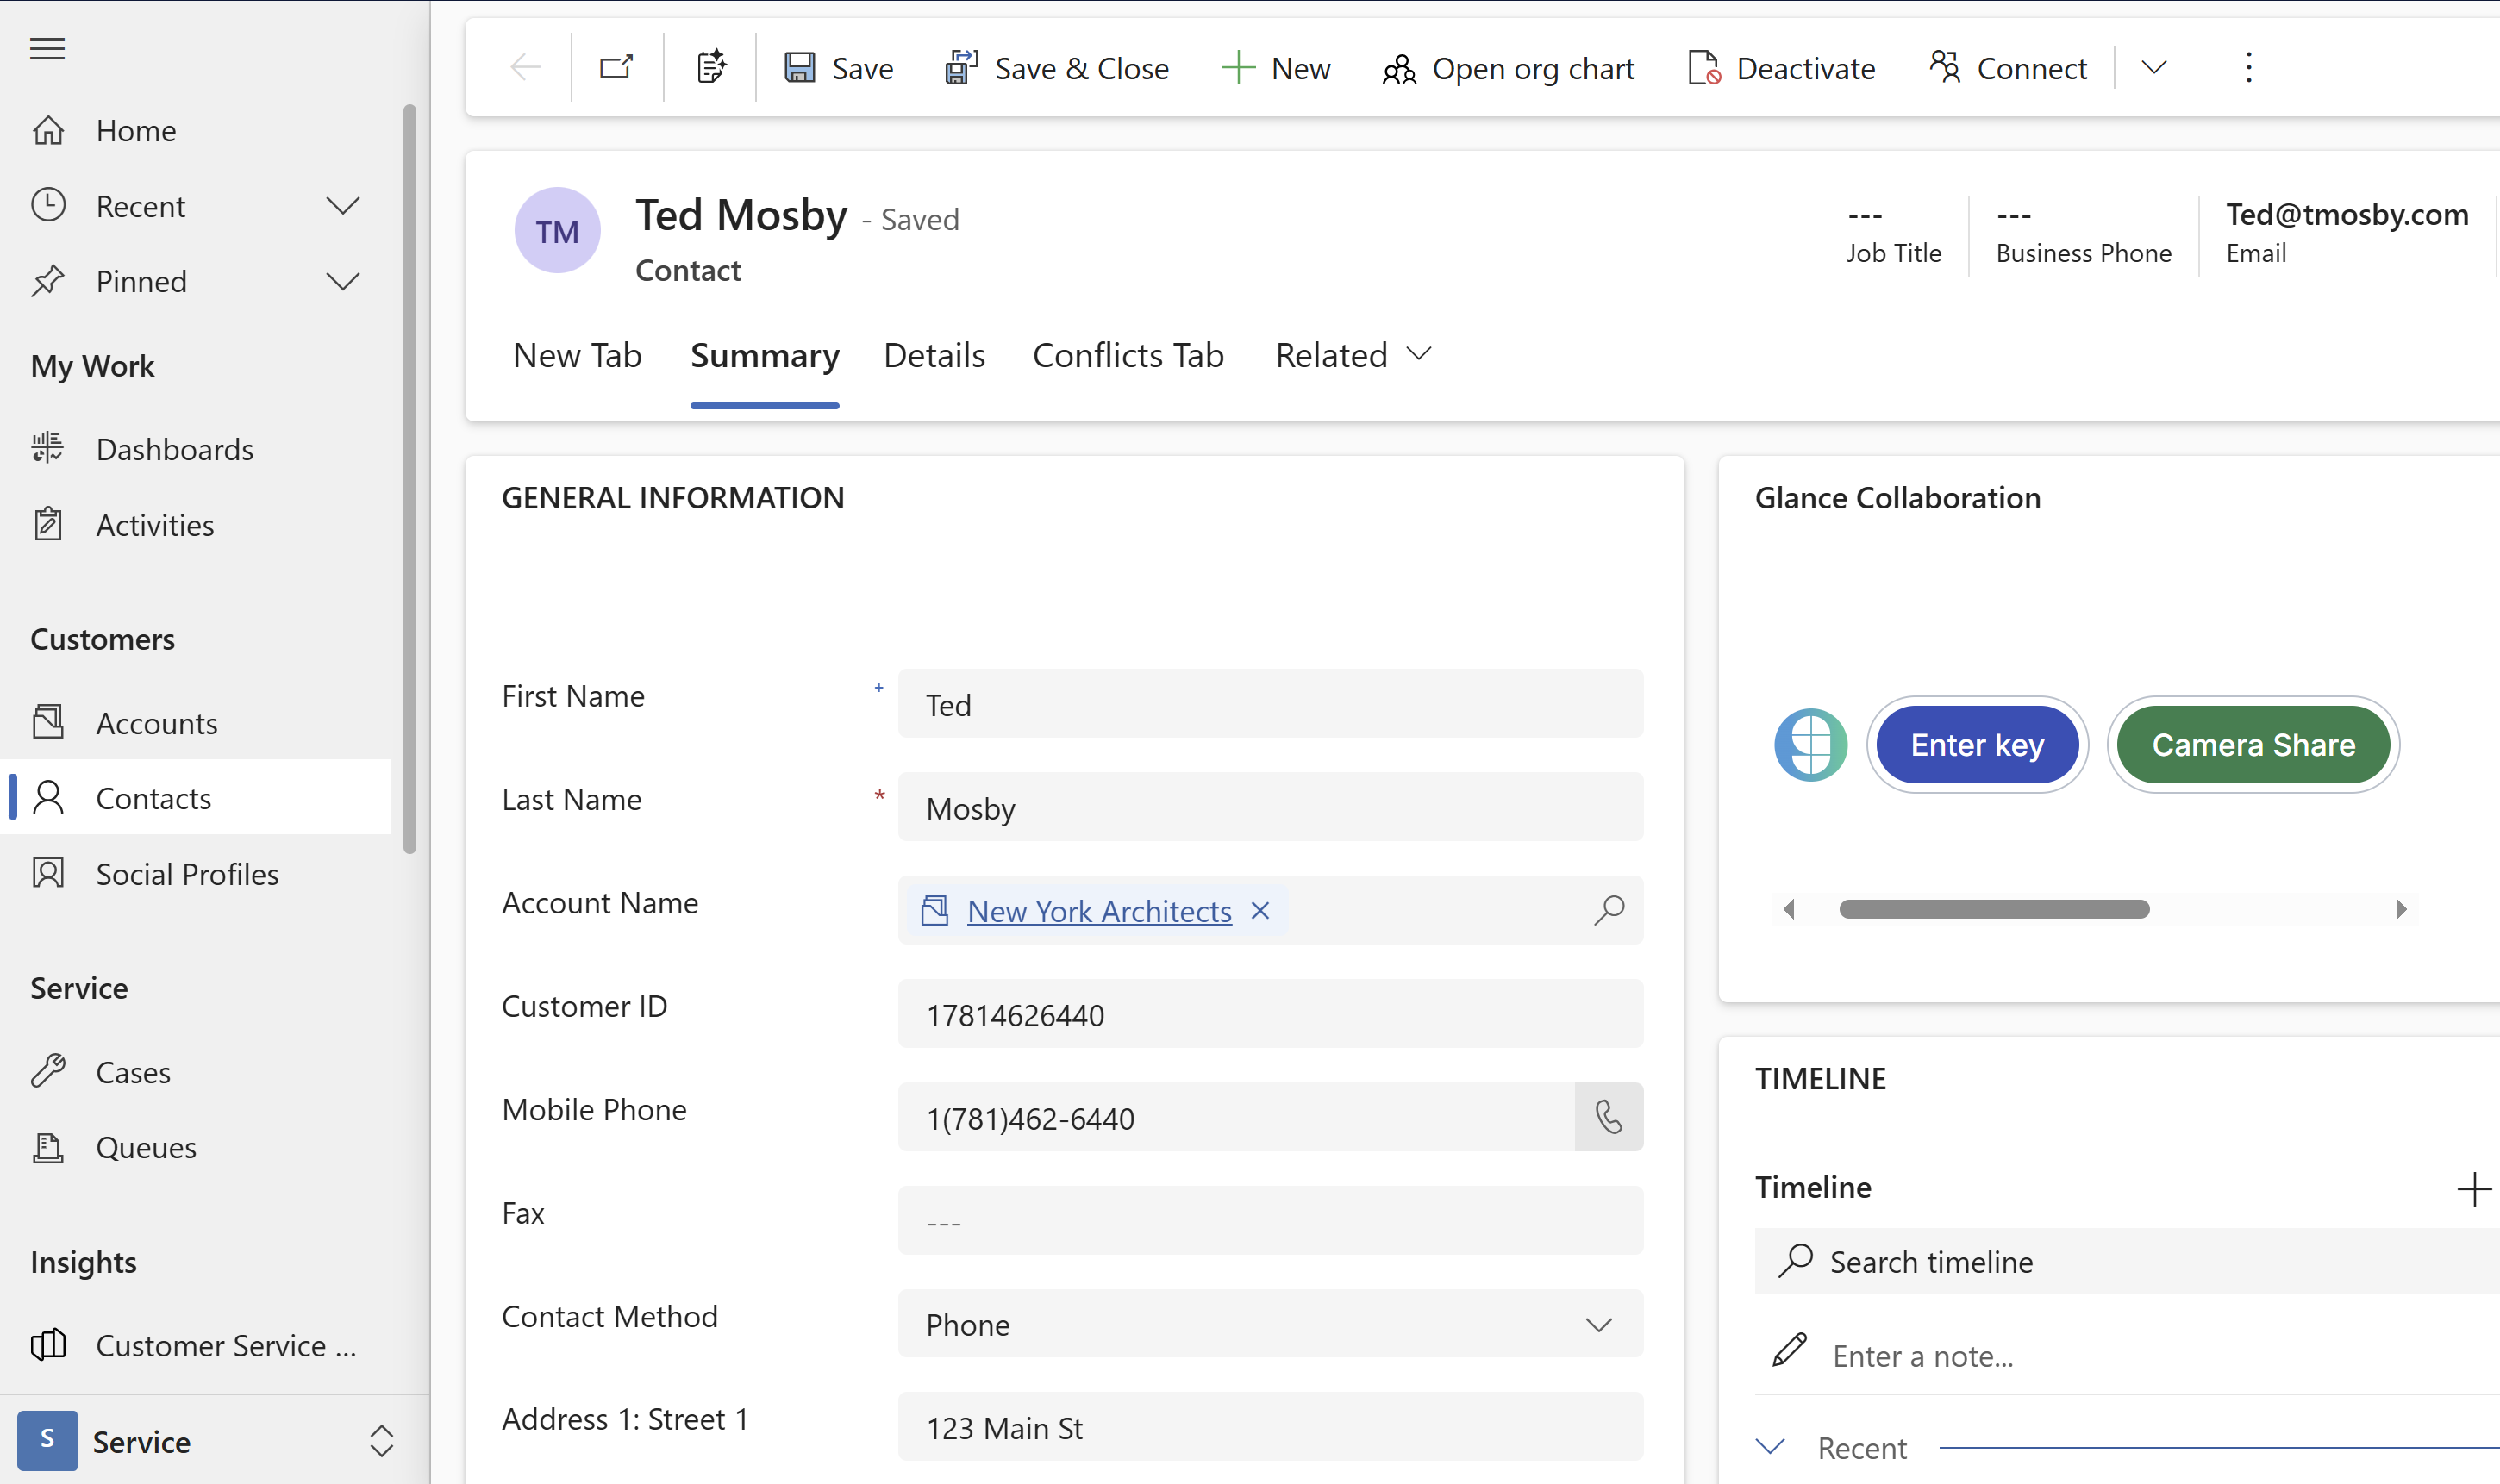
The Glance application is now available within the Glance Collaboration section.