Prerequisites
- All high-level prerequisites as listed in the Getting Started section.
- Access to a Twilio Flex Instance, and have followed the steps to create a Flex Plugin through the tutorial.
Adding Glance to a Flex Plugin
- After following the tutorial for the Flex Plugin listed above, replace the code in the Bing example with the following code:
JAVASCRIPT
import React from "react"
import { FlexPlugin } from "@twilio/flex-plugin"

import CustomTaskList from "./components/CustomTaskList/CustomTaskList"

const PLUGIN_NAME = "SamplePlugin"

export default class SamplePlugin extends FlexPlugin {
  constructor() {
    super(PLUGIN_NAME)
  }

  /**
   * This code is run when your plugin is being started
   * Use this to modify any UI components or attach to the actions framework
   *
   * @param flex { typeof import('@twilio/flex-ui') }
   */
  async init(flex, manager) {
    flex.CRMContainer.defaultProps.uriCallback = (task) => {
      return task
        ? `URL FROM GLANCE`
        : "URL FROM GLANCE"
    }
  }
}
- Deploy and release the plugin to your environment.
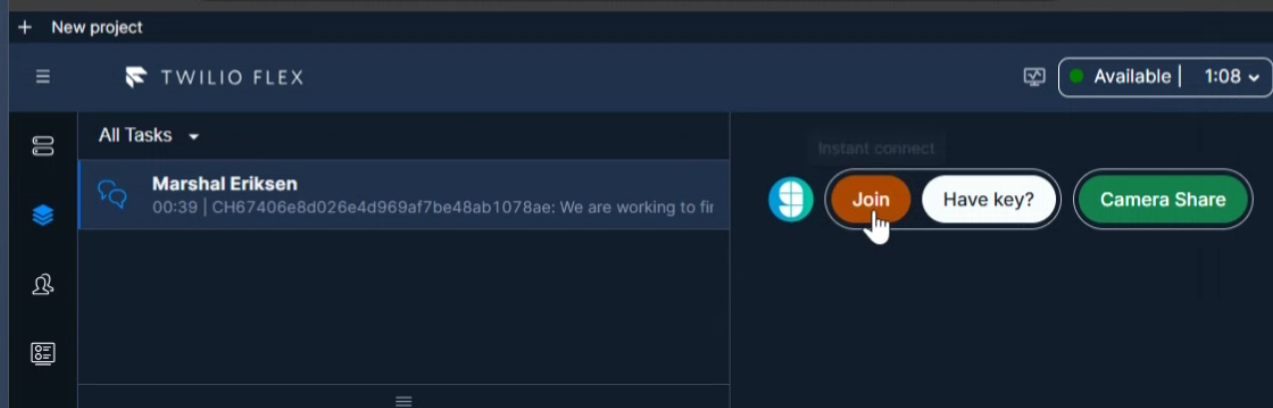
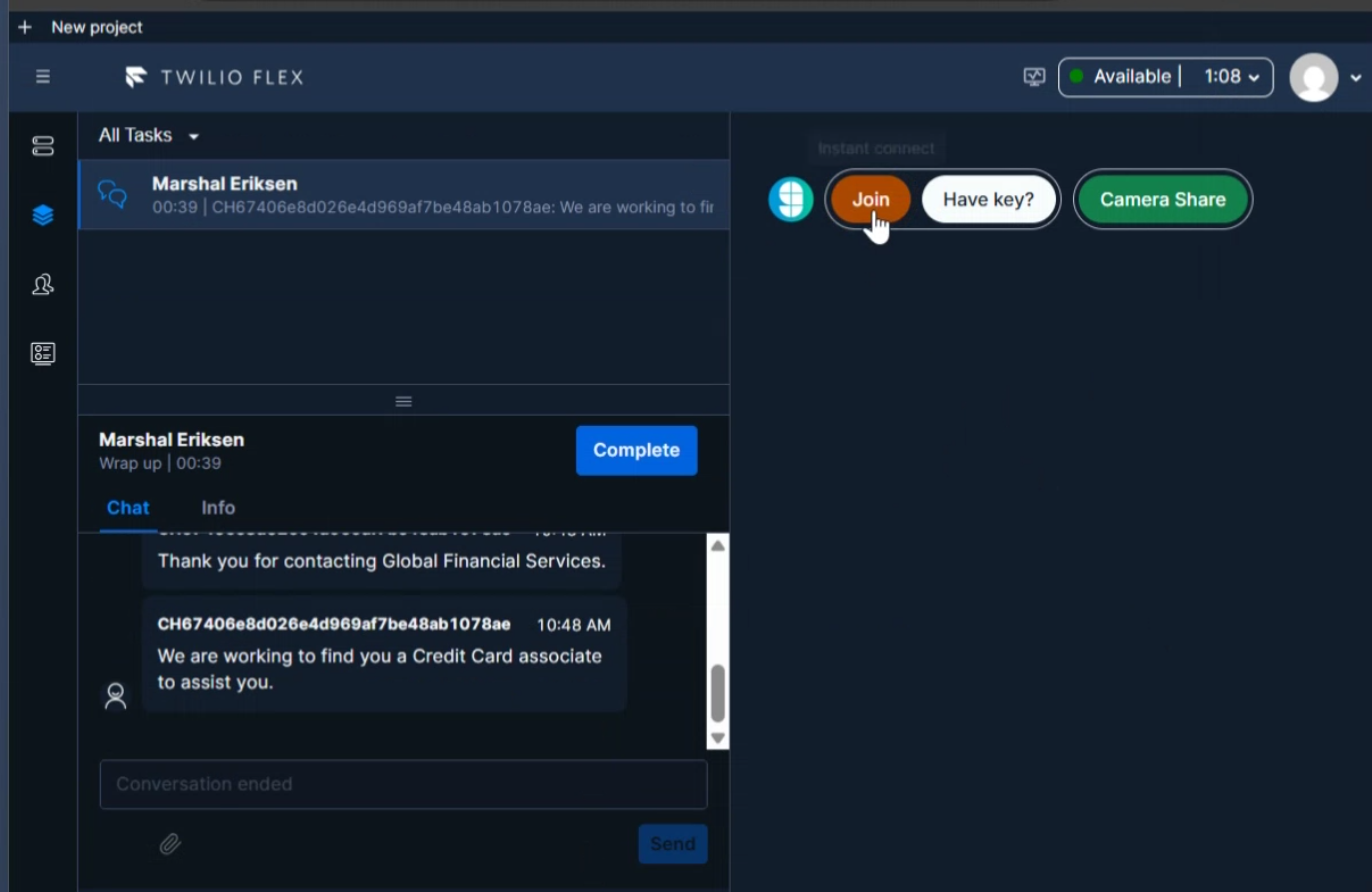
Joining Glance Sessions from Twilio Flex
- Navigate to the Twilio Flex Agent desktop.
- The Glance application is available in the CRM container window.
- You will be prompted to sign in to your Identity Provider to access the Glance application. Log in with your credentials.
- The Glance application is now available and you can join Glance Sessions.