Overview
Glance provides the ability for agents to escalate from a Cobrowse session to a screen sharing session without downloading any software. During a Cobrowse session, the agent can click the Screen Share button to have the option of sharing their screen or granting the visitor permission to share. The agent or the visitor can share their entire screen, a window, or a browser tab.
Prerequisites
- The Glance Group account must be set to use Cobrowse version 5.3 or above.
- The setting Escalate to Show must be enabled in Account Management > Settings. As an administrator, you can choose if agents can share tabs, windows, or their entire desktop.
Using Screen Share from Cobrowse
- After the agent and visitor have joined the Cobrowse session, the agent clicks the Share Screen icon in the agent viewer.

- The agent can choose to share their entire screen, a window, or a browser tab.
- The agent clicks Share to share the content.
- The visitor can view the agent's content.
Multiple Participants Sharing Their Screen
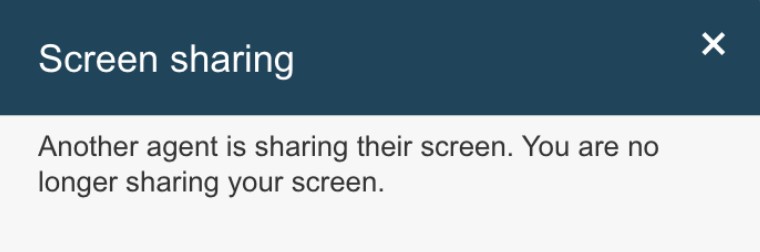
If a session involves multiple agents, and a second agent shows their screen, the initial agent will get a message stating Another agent is sharing their screen. You are no longer sharing your screen.
Screen Share Bookmarks
Requires CB 5.3 or higher
Glance also provides the ability to configure bookmark links of easy-to-share websites agents can share. Once enabled, these websites display in the Screen Share menu of the Agent Viewer for the agent to easily select.
Configuring Screen Share Bookmarks and Folders
Bookmark Folders Require CB 6.0 or higher
As an administrator, from Account Management > Settings > Manage your cobrowse settings, go to the Web Screen Share Bookmarks.
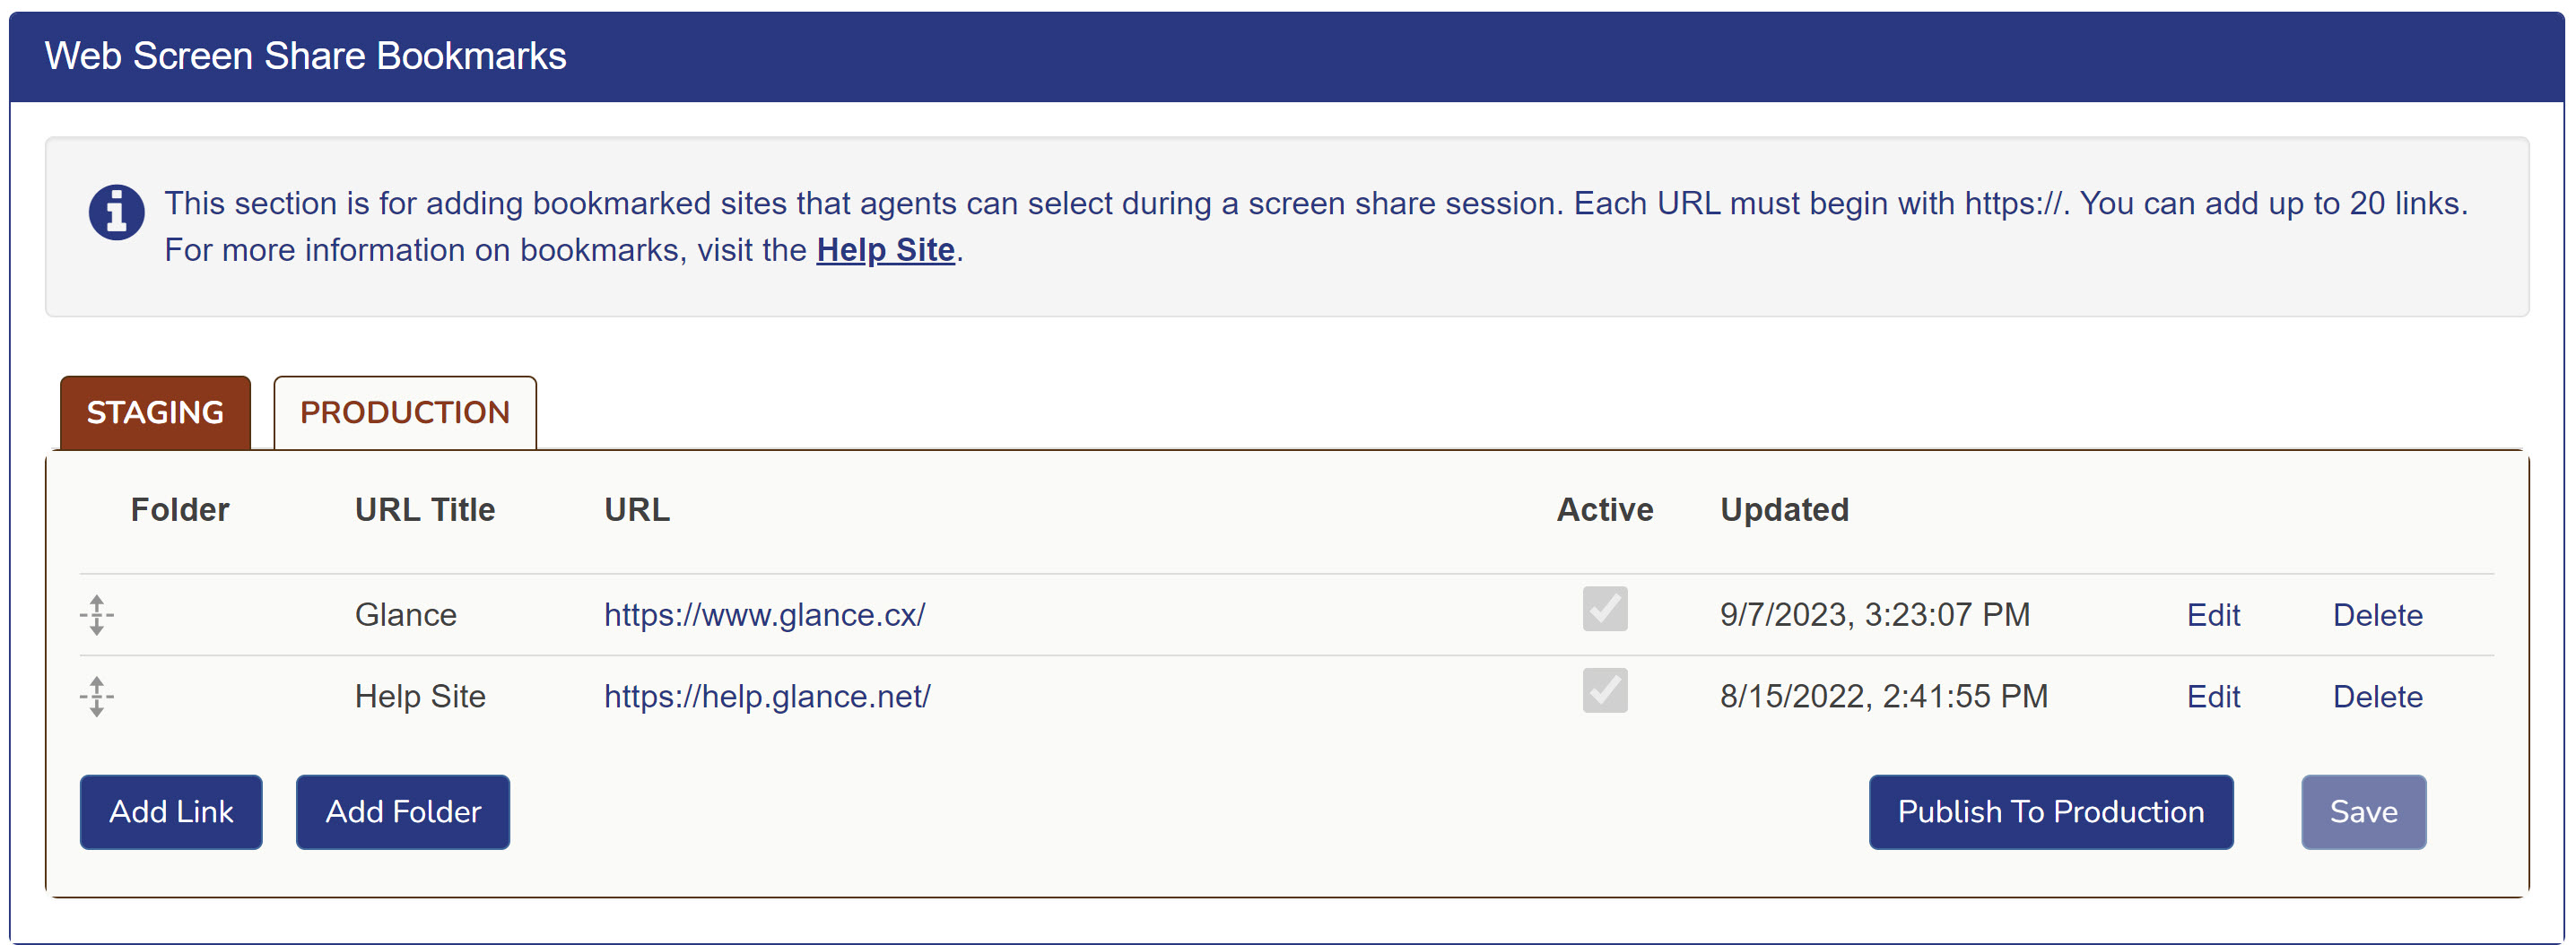
To add a bookmark:
- For URL Title, enter the title for the bookmark link in the Agent Viewer.
- For URL, enter the URL of the bookmark site.
- Select the Active checkbox.
- Click Save.
- To add an additional bookmark, click the Add Link button.
- After you test your changes in staging, click Publish to Production.
To add a folder:
- Click the Add Folder button.
- Input a name for your folder in the Insert folder name field.
- Select the Active checkbox.
- Click Save.
- Create new bookmarks within your folder or drag existing bookmarks beneath the folder.
- Click Publish to Production.
Using Screen Share Bookmarks
- Once the agent and visitor are in a Cobrowse session, the agent can click the Share Screen icon to view the bookmark links.
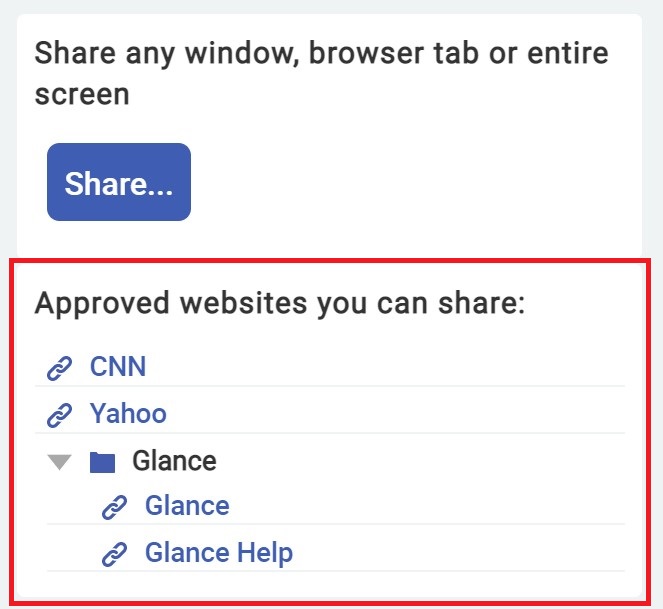
- After clicking the link, the bookmark site will open in a new window, and the agent has the opportunity to preview the content.
- Click Share... > Window > select the bookmark window from the available windows.
- The visitor can view the agent's window.
- Click Stop Sharing to end the screen share session. The cobrowse session will continue.
Screen Share for Visitors
Requires CB 5.7 or higher
The agent is able to grant the visitor permission to share their desktop, application window, or browser tab with the agent to quickly resolve any issues.
Visitors must be on a PC or Mac to share their screen. Mobile devices do not support screen sharing from their browsers.
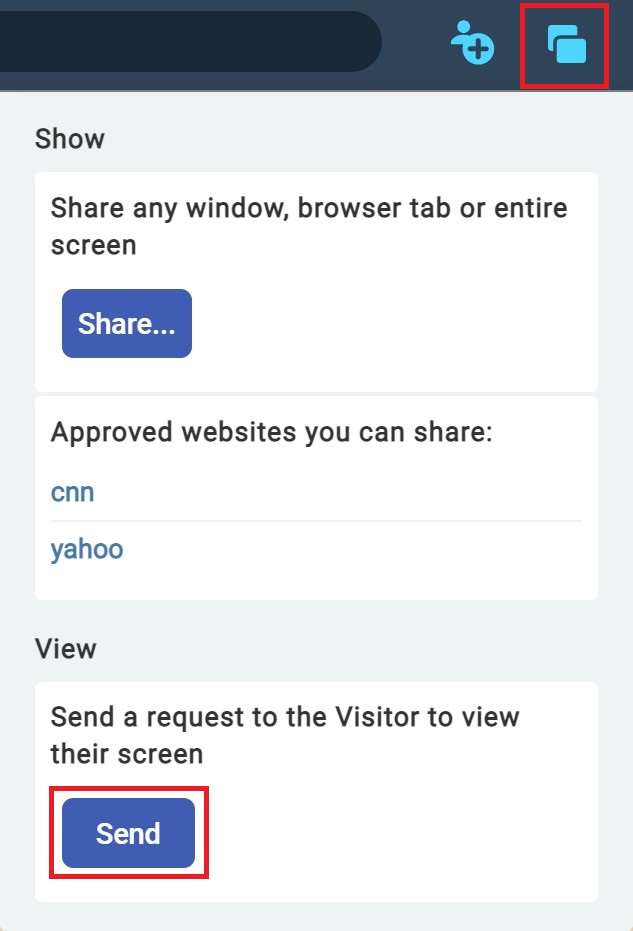
From a Cobrowse session, click the Share Screen icon.
Click Send within the View section.
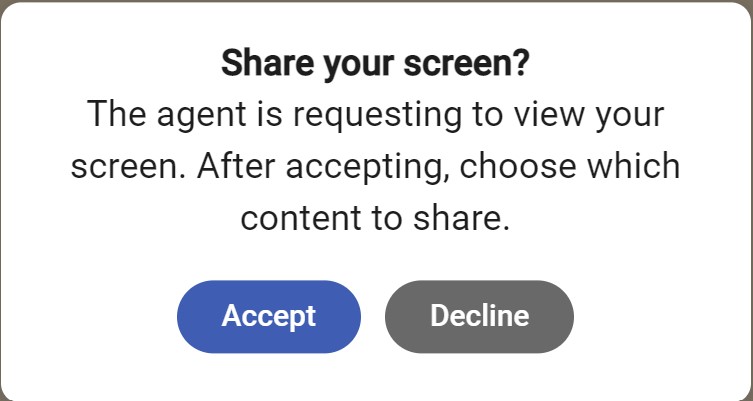
The visitor will receive a Share Your Screen modal in which they must click Accept.
The visitor can then choose if they want to share their entire screen, a window, or a tab.
InfoIf the visitor is using the Safari web browser, they will only be able to share their entire screen.After the visitor has made their selection, they click the Share button to share with the agent.
Troubleshooting
If you attempt to share the entire screen or tab, but you are only configured to share a window, you will receive the following error:
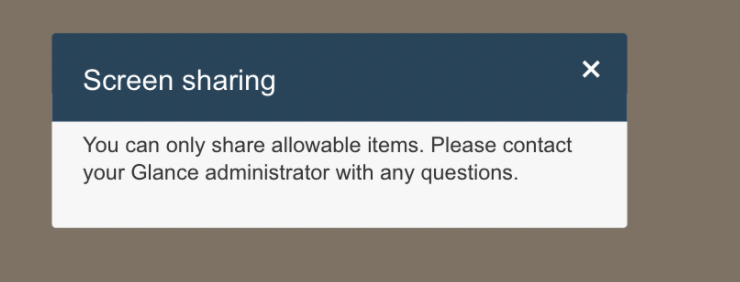
Remediation: You can click the Screen Share button and try to share the Window instead.