Glance works on most current Windows and Macintosh operating systems. See the System Requirements page for more information.
Download Glance
Once you have an active subscription, you can download Glance at www.glance.net/download.
Install Glance for Windows
Once Glance has downloaded:
- Enter your Glance Address and Password.
- Click Log In.

You will now find Glance as a G icon in your system tray next to your computer's clock.

If you want to make sure the G icon stays visible, complete the following steps:
- Click the hidden icon arrow in the tray.
- Select the G icon.
- Drag the G icon into the tray next to the clock.
Install Glance for Mac
After the download has started, the Glance ZIP file is downloaded and opens automatically. The Glance Installer walks you through the steps necessary to install the Glance Client.
- Enter your Glance Address and Password.
- Click Log In.
- Once installed, you will find Glance on your dock and menu bar.
- Dock:

- Menu Bar:

- Dock:
Note
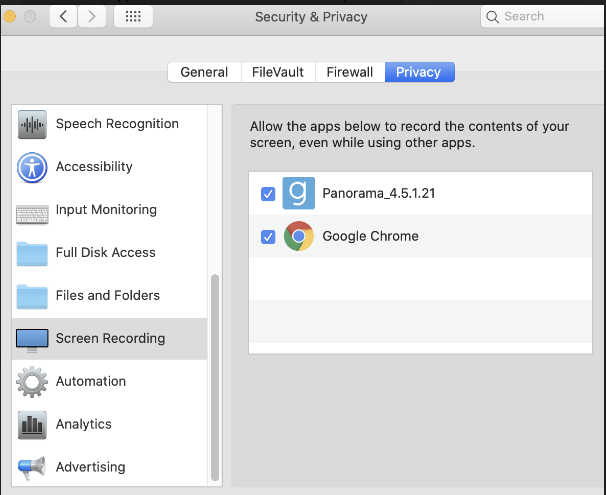
If you are running macOS Catalina or later, you need to take additional steps to grant Glance access to record your screen. - Go to System Preferences > Security & Privacy > Privacy > Screen Recording.
- Select the checkbox next to the Glance Client.